Lincoln AC-225S Arc Welder Manual: A Comprehensive Guide
This manual details the Lincoln AC-225S‚ manufactured from 1981-1986‚ covering setup‚ operation‚ troubleshooting‚ and maintenance for optimal welding performance.
The Lincoln AC-225S is a robust and widely-used arc welder‚ celebrated for its simplicity‚ durability‚ and versatility. Manufactured between 1981 and 1986‚ this machine has become a staple in workshops and on job sites for decades. It’s a single-operator‚ portable unit designed for a variety of welding applications‚ including stick (SMAW) welding‚ and can handle AC and DC current.
This welder’s enduring popularity stems from its ease of use and reliable performance. While lacking the advanced features of modern machines‚ the AC-225S provides ample power for general fabrication‚ repair work‚ and farm maintenance. Understanding its components and proper operation‚ as detailed in this manual‚ is crucial for achieving quality welds and ensuring long-term functionality. This guide aims to provide comprehensive instructions for both novice and experienced welders.
Historical Context & Manufacturing Dates (1981-1986)
The Lincoln AC-225S emerged during a period of significant growth in American manufacturing and DIY culture; The early 1980s saw increased demand for accessible and reliable welding equipment for both professional and hobbyist use. Lincoln Electric responded with the AC-225S‚ designed to be a workhorse capable of handling diverse welding tasks.
Production spanned from 1981 to 1986‚ a relatively short run that contributes to the machine’s collectibility today. During this time‚ the AC-225S represented a balance between affordability and performance‚ utilizing proven transformer technology. It filled a niche for welders needing a portable‚ versatile unit without the complexities of newer‚ more expensive models. Its enduring presence in workshops speaks to its quality and the era’s manufacturing standards.
Key Features and Specifications
The Lincoln AC-225S boasts robust construction and a simple‚ user-friendly design. Key features include its ability to perform both AC and DC stick welding‚ offering versatility for various materials like steel‚ stainless steel‚ and cast iron. It’s equipped with a reduced voltage control‚ enhancing arc stability and weld quality.
Specifications include an input voltage of 230V and an output current range of 50-225 amps. The welder utilizes a single-phase transformer and delivers consistent power for reliable performance. Its portability‚ weighing approximately 68 pounds‚ makes it suitable for both shop and field applications. The AC-225S is known for its durability and ease of maintenance‚ making it a favorite among welders.
Understanding the Welder’s Components
This section details the AC-225S’s core elements: the transformer‚ voltage control‚ cooling system‚ and safety features like the power switch and circuit breaker.
Transformer and its Role
The heart of the Lincoln AC-225S is its robust transformer‚ responsible for stepping down the incoming mains voltage to a lower‚ safer level suitable for arc welding. This crucial component utilizes electromagnetic induction to convert high-voltage‚ low-current electricity into low-voltage‚ high-current electricity – the power needed to create and maintain a welding arc.
The transformer’s design allows for both AC and DC welding capabilities‚ offering versatility for various applications. Its winding configuration directly impacts the welder’s output characteristics‚ influencing arc stability and penetration. Understanding the transformer’s function is key to diagnosing potential issues and ensuring optimal performance. Proper transformer maintenance‚ including keeping it clean and free from debris‚ is vital for longevity and reliable operation of the AC-225S.
Voltage Control Mechanism
The Lincoln AC-225S employs a unique reduced voltage control system‚ allowing precise adjustment of the welding output. This mechanism‚ typically a tap-changing switch‚ alters the transformer’s winding configuration‚ effectively changing the output voltage and‚ consequently‚ the amperage. This control is essential for adapting to different electrode types‚ material thicknesses‚ and welding positions.
The control allows welders to fine-tune the arc characteristics‚ achieving optimal weld quality. Proper adjustment prevents issues like excessive spatter or insufficient penetration. Understanding the voltage control’s function is crucial for troubleshooting welding problems. Regular inspection of the control switch ensures smooth operation and prevents erratic voltage fluctuations‚ contributing to consistent and reliable welding performance with the AC-225S.
Cooling System Overview
The Lincoln AC-225S is primarily air-cooled‚ relying on natural convection and strategically placed ventilation ports to dissipate heat generated during operation. Unlike more advanced welders‚ it doesn’t utilize a forced-air or liquid cooling system. This simplicity contributes to its robust and reliable design‚ minimizing potential points of failure.
However‚ maintaining clear airflow around the welder is vital. Obstructions‚ such as dust‚ debris‚ or close proximity to other equipment‚ can impede cooling‚ leading to overheating. Regular cleaning of the ventilation ports is essential. Prolonged operation at high amperage settings can still cause the welder to become hot to the touch‚ necessitating caution and periodic breaks to prevent damage and ensure longevity of the AC-225S.
Power Switch and Circuit Breaker
The Lincoln AC-225S features a robust‚ mechanically operated power switch‚ typically a toggle or rotary type‚ for simple on/off control. This switch directly controls the primary power supply to the transformer. Alongside the power switch‚ a crucial safety component is the circuit breaker‚ designed to protect the welder from overcurrent situations.
The circuit breaker automatically interrupts the power supply if an excessive current draw is detected‚ preventing damage to the transformer and internal wiring. It’s vital to understand the breaker’s amperage rating and to only replace it with a breaker of the exact same specification. Resetting a tripped breaker requires identifying and resolving the cause of the overload before re-engaging it‚ ensuring safe operation.
Setting Up the AC-225S for Operation
Proper setup involves secure grounding‚ correct electrode choice‚ amperage adjustments based on material‚ and selecting the appropriate polarity for welding.
Grounding Procedures
Establishing a solid ground connection is paramount for safe and effective operation of the Lincoln AC-225S. Connect the ground clamp directly to the workpiece‚ ensuring a clean‚ metal-to-metal contact‚ free from paint‚ rust‚ or coatings.
Use a sufficiently sized ground cable – typically the same gauge as the welder’s output cable – to minimize voltage drop and ensure adequate current flow. Poor grounding can lead to erratic arc behavior‚ increased spatter‚ and a heightened risk of electric shock.
Always connect the ground clamp as close as possible to the welding area. For complex structures‚ multiple ground connections may be necessary to distribute current evenly. Regularly inspect the ground clamp and cable for damage‚ replacing them if any defects are found.
Electrode Selection Guide
Choosing the correct electrode is crucial for successful welding with the Lincoln AC-225S. Electrode selection depends on the base metal‚ desired weld characteristics‚ and welding position. For mild steel‚ E6010 and E7018 electrodes are commonly used‚ offering good penetration and strength.
Stainless steel requires stainless steel electrodes like E308L-16. Cast iron welding benefits from specialized electrodes like ENi-CI or ENiFe-CI. Electrode diameter impacts amperage; smaller diameters for thinner materials‚ larger for thicker ones.
Always store electrodes in a moisture-controlled environment to prevent hydrogen embrittlement. Refer to the electrode manufacturer’s specifications for recommended amperage ranges and polarity. Proper electrode storage and selection significantly improve weld quality and prevent defects.
Amperage Setting Chart (Steel‚ Stainless Steel‚ Cast Iron)
The Lincoln AC-225S requires precise amperage settings for optimal results. For 1/8″ mild steel‚ start around 70-90 amps; 3/16″ steel needs 90-120 amps. Stainless steel‚ using a 1/8″ electrode‚ typically requires 60-80 amps. Thicker stainless sections (3/16″) demand 80-100 amps.
Cast iron welding is more nuanced. With a 1/8″ electrode‚ begin at 50-70 amps‚ adjusting for the specific cast iron alloy. Always prioritize lower amperage for cast iron to prevent cracking.
These are starting points; adjust based on electrode type‚ material thickness‚ and desired penetration. Monitor arc stability and weld bead appearance to fine-tune amperage.
Polarity Selection (AC vs. DC)
The Lincoln AC-225S offers both AC and DC welding capabilities‚ influencing arc characteristics and penetration. AC welding is generally preferred for mild steel‚ providing a self-cleaning arc and easier operation for beginners. It’s ideal for thicker materials and offers good weld puddle control.
DC welding‚ specifically DCEN (DC Electrode Negative)‚ concentrates heat on the workpiece‚ resulting in deeper penetration. This is beneficial for welding stainless steel and cast iron.
DCEP (DC Electrode Positive) is less common but can be used for certain specialized applications. Always consult electrode manufacturer recommendations for optimal polarity selection.
Arc Welding Techniques with the AC-225S
Mastering stick welding (SMAW) with the AC-225S requires proper arc starting‚ stable arc maintenance‚ and skillful execution in various welding positions.
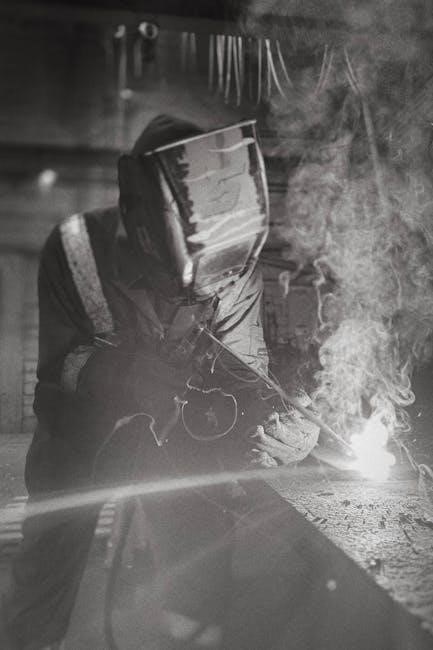
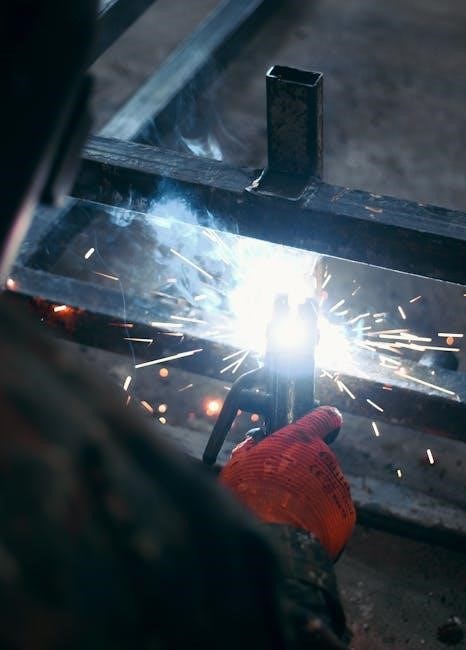
Stick Welding (SMAW) Fundamentals
Shielded Metal Arc Welding (SMAW)‚ commonly known as stick welding‚ is a versatile process ideal for the Lincoln AC-225S. It utilizes a consumable electrode coated in flux to create the weld. The flux shields the weld pool from atmospheric contamination‚ ensuring a strong‚ clean weld.
Successful SMAW hinges on understanding several key factors. These include proper electrode selection based on the material being welded – steel‚ stainless steel‚ or cast iron – and correct amperage settings. Maintaining a consistent arc length is crucial for weld quality.
The AC-225S excels in SMAW due to its robust transformer and adjustable amperage control. Beginners should practice establishing and maintaining a stable arc before tackling complex projects. Remember safety is paramount; always wear appropriate personal protective equipment (PPE).
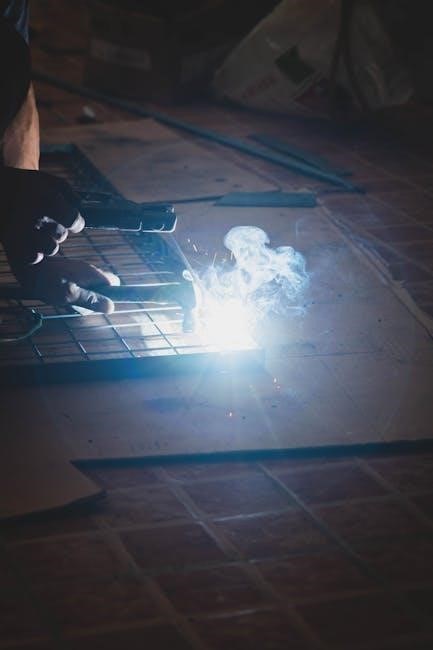
Proper Arc Starting Methods
Establishing a stable arc with the Lincoln AC-225S requires mastering several techniques. The “scratch start” method involves lightly scratching the electrode against the workpiece‚ then quickly lifting it to create an arc. Alternatively‚ the “tap start” involves tapping the electrode and immediately drawing it away.
Maintaining the correct arc length is vital. Too short‚ and the electrode will stick; too long‚ and the arc becomes unstable‚ leading to spatter and poor penetration. A good starting point is an arc length equal to the electrode’s diameter.
Practice is key to developing a consistent starting technique. Adjust amperage based on electrode type and material thickness. Ensure a clean workpiece free of rust or mill scale for optimal arc initiation. Consistent starts lead to cleaner‚ stronger welds.
Maintaining a Stable Arc
A stable arc is crucial for quality welds with the Lincoln AC-225S. Consistent travel speed is paramount; too fast results in weak‚ thin beads‚ while too slow causes excessive buildup and potential burn-through. Maintain a rhythmic‚ even motion.
Arc length control is ongoing. Continuously adjust the distance between the electrode and workpiece to compensate for variations in material thickness or welding position. Visual cues‚ like the color and shape of the arc‚ provide feedback.
Listen to the sound of the arc. A smooth‚ crackling sound indicates a stable arc. Spatter‚ erratic noises‚ or a wandering arc signal adjustments are needed. Practice and observation will refine your technique for consistently stable results.
Welding Positions (Flat‚ Horizontal‚ Vertical‚ Overhead)
The Lincoln AC-225S can weld in all positions‚ but technique varies. Flat position (1G) is easiest‚ requiring minimal amperage and a straightforward travel motion. Horizontal (2G) demands a slight drag angle and consistent speed to prevent slag roll-over.
Vertical welding (3G/4G) needs a weaving motion. Use a circular or zigzag pattern‚ moving upwards with short arc lengths to control the molten pool. Overhead (4G) is the most challenging‚ requiring higher amperage and a reverse drag angle.
Adjust amperage for each position. Lower settings for flat‚ increasing for vertical and overhead. Practice each position to develop muscle memory and consistent weld quality with the AC-225S.
Troubleshooting Common Issues
This section addresses frequent problems with the Lincoln AC-225S‚ including power failures‚ poor arc quality‚ electrode sticking‚ and overheating solutions.
Welder Not Powering On
If the Lincoln AC-225S fails to power on‚ begin with the simplest checks. Ensure the power cord is securely connected to a functioning outlet‚ and verify the outlet’s voltage matches the welder’s requirements.
Next‚ inspect the circuit breaker on the welder’s rear panel; a tripped breaker is a common cause. Reset it if necessary. Also‚ check the fuse – locate the fuse holder (typically near the power switch) and examine the fuse for any signs of damage or breakage.
Replace the fuse with one of the correct amperage rating if it’s blown. If these steps don’t resolve the issue‚ a more in-depth inspection of the internal wiring may be required‚ potentially involving a qualified technician.
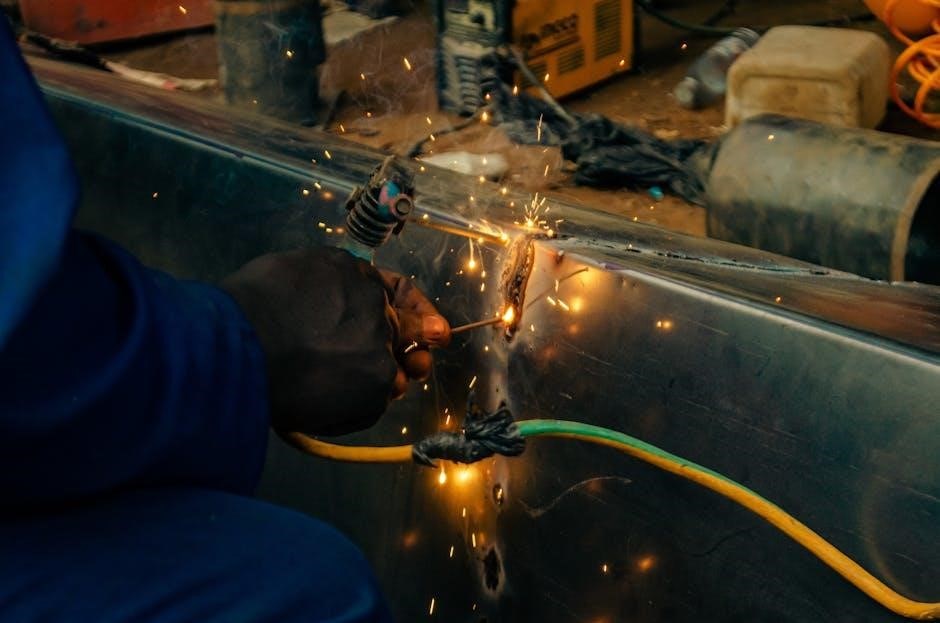
Poor Arc Quality & Spatter
Excessive spatter and a generally unstable arc with the Lincoln AC-225S often indicate incorrect amperage settings. Refer to the amperage chart for the specific electrode type and metal thickness you’re welding. Too high or too low amperage can cause instability.
Ensure proper grounding; a poor ground connection significantly impacts arc quality. Check electrode condition – use dry‚ clean electrodes. Moisture and contaminants contribute to spatter. Polarity selection is also crucial; verify you’ve chosen the correct polarity (AC or DC) for the electrode.
Finally‚ maintain a consistent arc length and travel speed for a smoother weld. Adjust these parameters to minimize spatter and achieve a stable arc.
Electrode Sticking
Electrode sticking is a common issue with the Lincoln AC-225S‚ frequently caused by too low amperage. Insufficient current prevents maintaining a stable arc‚ leading to the electrode fusing to the workpiece. Conversely‚ attempting to weld on a dirty or rusty surface dramatically increases the likelihood of sticking.
Ensure the workpiece is thoroughly cleaned of mill scale‚ rust‚ paint‚ and any other contaminants. Verify proper grounding‚ as a weak ground exacerbates sticking problems. Also‚ check the electrode’s coating for moisture; damp electrodes stick easily.
Adjust the amperage upwards incrementally until a stable arc is achieved‚ avoiding excessive heat input.
Overheating Problems & Solutions
The Lincoln AC-225S‚ during extended use‚ can experience overheating‚ triggering the thermal overload protection. This is a safety feature preventing damage to the transformer and other components. Overheating often results from exceeding the welder’s duty cycle – welding continuously at high amperage for too long.
Ensure adequate ventilation around the welder; avoid obstructing cooling vents. Reduce amperage settings when possible‚ and implement shorter weld runs with cooling breaks. Inspect the cooling fan for proper operation; a malfunctioning fan significantly contributes to overheating.
If overheating persists‚ allow the welder to cool completely before resuming operation.
Safety Precautions & Maintenance
Prioritize personal protective equipment (PPE) and regular inspections to ensure safe operation and longevity of your Lincoln AC-225S arc welder.
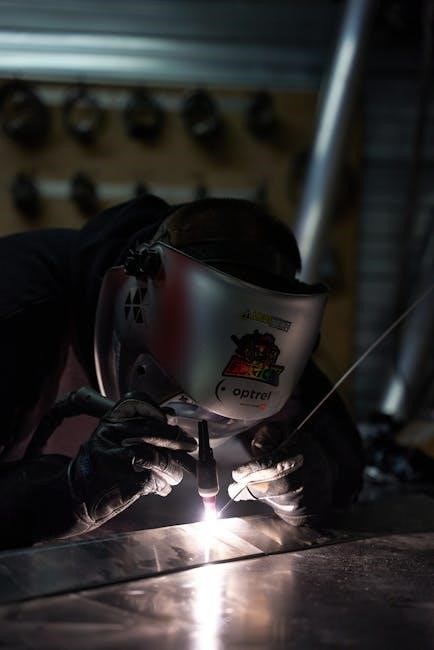
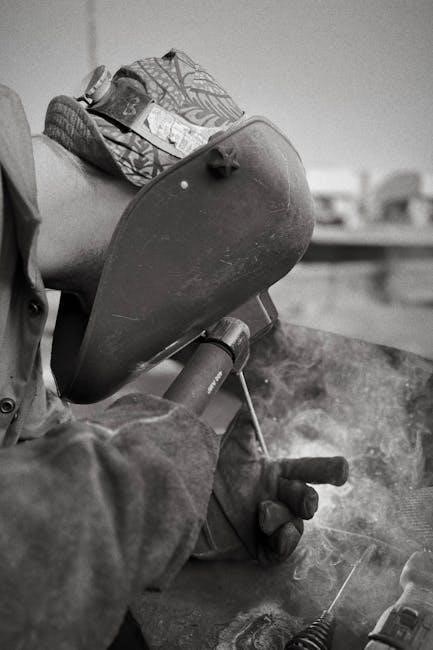
Personal Protective Equipment (PPE)
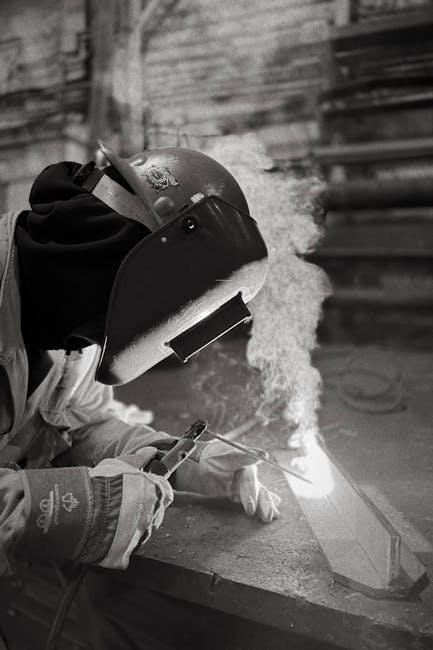
Welding with the Lincoln AC-225S demands strict adherence to safety protocols‚ beginning with appropriate Personal Protective Equipment (PPE). A welding helmet with the correct shade lens is paramount‚ shielding your eyes from intense ultraviolet and infrared radiation produced during the arc.
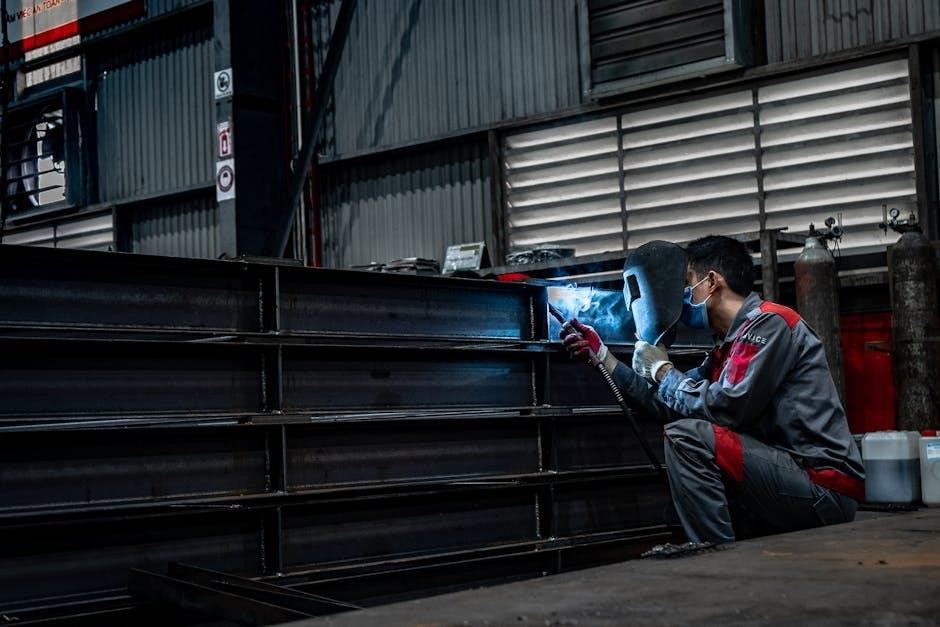
Wear sturdy‚ flame-resistant gloves – leather is ideal – to protect your hands from burns and electrical shock. Long-sleeved‚ non-synthetic clothing is crucial; synthetic materials can melt onto skin.
Always wear closed-toe‚ leather work boots to insulate your feet. Respiratory protection‚ such as a respirator‚ is recommended when welding materials that produce hazardous fumes. Ear protection‚ like earplugs or earmuffs‚ can mitigate noise exposure.
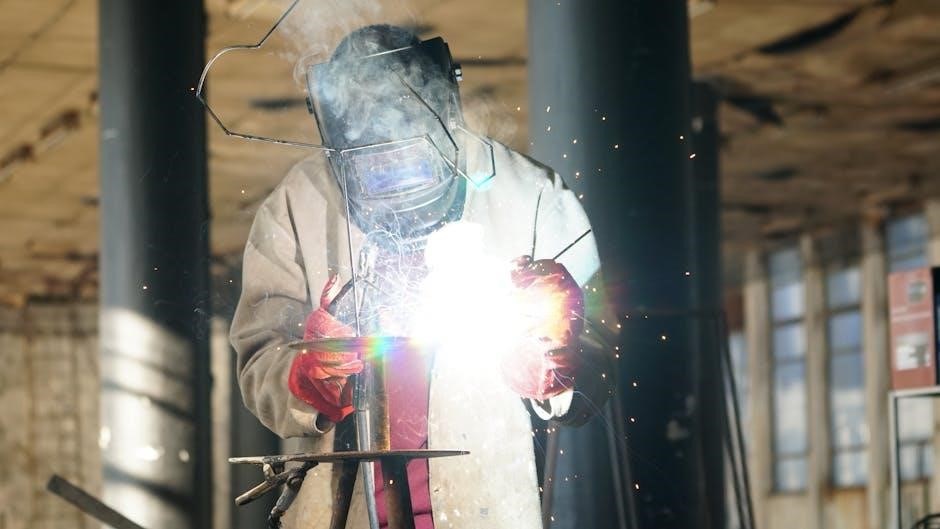
Finally‚ ensure a clear and well-ventilated workspace to minimize fume inhalation. Regularly inspect your PPE for damage and replace items as needed.
Regular Inspection Checklist
Consistent inspection of your Lincoln AC-225S is vital for safe and reliable operation. Before each use‚ examine the power cable for cracks or damage to the insulation – replace if compromised. Check all connections for tightness‚ ensuring secure grounding.
Inspect the electrode holder for secure clamping and insulation integrity. Verify the on/off switch functions correctly and the circuit breaker resets smoothly. Listen for unusual noises during operation‚ indicating potential internal issues.
Examine the cooling fan (if equipped) for obstructions and proper function. Regularly check the cooling system for leaks or blockages. Ensure the welder’s exterior is clean and free of debris.
Document all inspections and any maintenance performed. A proactive approach to inspection prevents unexpected failures and extends the welder’s lifespan.
Cleaning and Storage Guidelines
Maintaining a clean Lincoln AC-225S is crucial for longevity and performance. After each use‚ remove any spatter or flux residue from the welder’s exterior using a wire brush or scraper. Avoid using solvents that could damage the paint or components.
Periodically blow out dust and debris from the cooling vents to ensure adequate airflow. Inspect and clean the electrode holder‚ removing any built-up residue. Store the welder in a clean‚ dry environment‚ protected from moisture and extreme temperatures.
Cover the welder with a protective cover to prevent dust accumulation. Ensure the storage area is well-ventilated. Disconnect the power cord when storing for extended periods.
Proper cleaning and storage prevent corrosion and ensure the welder is ready for its next use‚ maximizing its operational life and minimizing potential issues.
Fuse Replacement Procedures
Before replacing any fuse in the Lincoln AC-225S‚ always disconnect the power cord from the electrical outlet to prevent electrical shock. Locate the fuse holder‚ typically found near the power switch or circuit breaker. Carefully remove the fuse holder cover.
Inspect the old fuse to determine its amperage rating. Always replace it with a fuse of the exact same amperage and type. Using a different rating can damage the welder or create a safety hazard.
Insert the new fuse securely into the fuse holder‚ then replace the cover. Ensure it’s firmly seated. Reconnect the power cord and test the welder. If the fuse blows again immediately‚ there’s likely an underlying issue requiring professional attention.
Parts List & Diagrams
Detailed diagrams and a comprehensive parts list are provided for the Lincoln AC-225S (1981-1986)‚ aiding in repair and component identification.
Identifying Key Replacement Parts
Locating replacement parts for your Lincoln AC-225S is crucial for maintaining its functionality. Common parts needing replacement include the electrode holder‚ ground clamp‚ and input power cable. The transformer windings are also vital‚ though repairs here often require professional expertise.
Inspect the voltage control mechanism regularly‚ as its components can wear over time. Circuit breaker functionality should be tested‚ and replacements sourced if necessary. Fuses are easily replaced‚ but ensure the correct amperage rating is used. Identifying the correct part number‚ often found on the component itself or in detailed parts diagrams‚ is essential when ordering.
Always refer to the welder’s manufacturing dates (1981-1986) when sourcing parts‚ as variations may exist. Online parts retailers and Lincoln Electric distributors are excellent resources for obtaining genuine replacement components.
Wiring Diagrams for Repair
Accessing accurate wiring diagrams is paramount when undertaking repairs on your Lincoln AC-225S. These diagrams‚ specific to the 1981-1986 manufacturing period‚ illustrate the connections between the transformer‚ voltage control‚ power switch‚ and circuit breaker.
Understanding the diagrams requires familiarity with electrical symbols and color coding. Carefully trace the wiring paths to identify faults‚ such as broken connections or short circuits. Diagrams detail the primary and secondary winding configurations within the transformer‚ crucial for diagnosing winding issues.
Always disconnect the welder from the power source before attempting any wiring repairs. Refer to the parts list to correctly identify component locations. Online resources and Lincoln Electric’s service documentation often provide downloadable wiring diagrams for this classic welder.
Transformer Winding Information
The Lincoln AC-225S utilizes a robust transformer to step down the incoming voltage for safe and effective arc welding. Understanding the transformer’s winding configuration is vital for troubleshooting and potential repairs. The primary winding receives line voltage‚ while the secondary windings deliver the lower voltage required for welding.
Original specifications detail the wire gauge‚ number of turns‚ and insulation type used in each winding. Damage to the windings‚ such as shorts or open circuits‚ can severely impact performance. Identifying winding resistance using a multimeter is a key diagnostic step.
Repairing transformer windings is a complex task best left to qualified technicians. Incorrect rewinding can lead to overheating and potential safety hazards. Always consult wiring diagrams and service manuals before attempting any transformer-related work.
Control Panel Component Breakdown
The Lincoln AC-225S control panel houses essential components for regulating welding parameters. Key elements include the voltage selector switch‚ allowing adjustment of output voltage for different materials and thicknesses. The amperage control knob precisely sets the welding current‚ influencing arc characteristics and penetration.
A circuit breaker protects the welder from overloads‚ automatically interrupting power in fault conditions. The power switch enables or disables the machine‚ while indicator lights signal operational status. Understanding the function of each component is crucial for safe and efficient operation.
Regular inspection of these controls for damage or wear is recommended. A malfunctioning control can lead to inconsistent welds or potential hazards. Refer to wiring diagrams for component locations and connections during maintenance or repair.